JustStewIt.com Project
This website is built on the Astro framework, a new rocket ship fast framework. I had to learn a lot more web dev programming to actually get this site working. Read about my project to create this site, and how I keep it updated.
Skills:


Problem Statement
Develop a high-performance, scalable website that meets the Cloud Resume Challenge requirements while serving as a foundation for future enhancements such as project showcases and recipe management. The challenge lies in architecting a solution that integrates these additional capabilities without compromising site speed or incurring significant hosting costs. This requires selecting and implementing modern technologies and development strategies that not only address immediate resume and certification display needs but also allow for seamless expansion and long-term growth.
My Role
As the sole developer and architect for this personal website project, I designed and implemented a feature-rich Astro-based platform integrating various AWS services, Auth0 authentication, and headless WordPress functionality. I made strategic technical decisions throughout the development lifecycle, from framework selection to cloud infrastructure optimization, while deliberately choosing technologies that would expand my skillset. I managed all aspects of the project from concept to deployment, including full-stack development, DevOps processes, content management, and the strategic use of AI tools to accelerate development.
Key Requirements
Frontend & Backend
AWS Infrastructure
Key Achievements
- Built using Astro for fast, content-focused web development.
- Implemented a robust, dynamic contact form via AWS SES.
- Integrated headless WordPress for flexible recipe management.
- Adopted Auth0 for secure, scalable user authentication.
- Utilized containerization and AWS ECS, then Lightsail for efficient deployment.
Project Timeline
My Astro Site
A project that initially started to satisfy a requirement of the Cloud Resume Challenge has morphed into so much more. I have a penchant for writing, knowledge, and doing cool things. This website allows me to have a blog where I can share updates, have a sandbox for learning, and create cool new features. What makes this a project to feature in my portfolio? In short, it shows off my ability to learn quickly and displays several skills required for developing a website. I had to do everything from setting up a front end to interact with and a back end for a number of features. All of the significant features are headers to make it easier to find.
Getting AWS Certified
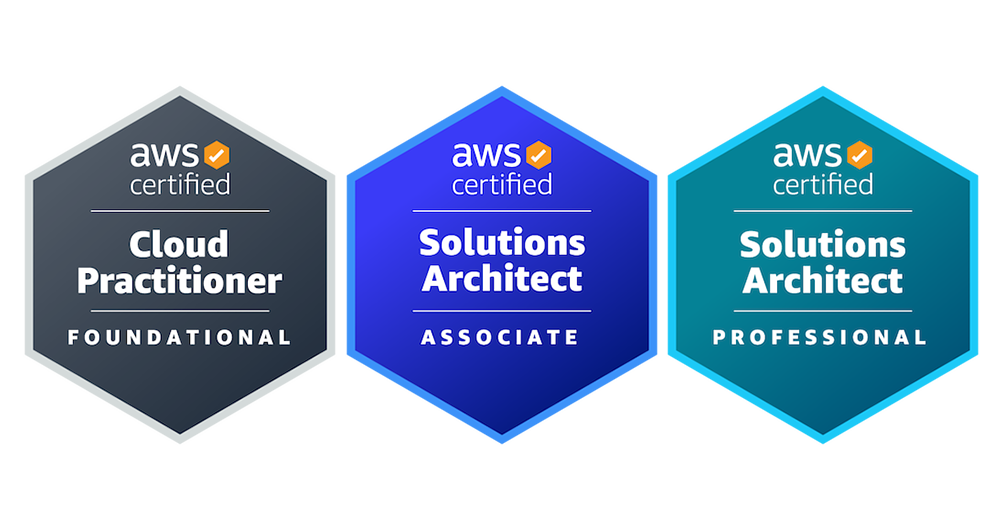
After a decade of growing and scaling my business, I decided it was time for a fresh challenge and turned my focus to the rapidly evolving world of cloud computing. I began my AWS journey in August 2023 by signing up for A Cloud Guru and diving into the AWS Certified Cloud Practitioner course. After passing the test on my first try, my passion for AWS architecture intensified. I quickly moved on to the AWS Solutions Architect Associate course, dedicating over 60 hours a week to hands-on labs, up-to-date content, and rigorous practice tests. This intensive study not only helped me master key AWS concepts but also paved the way for my success in both the Associate and the more challenging Professional certification exams.
With three AWS certifications now under my belt, I recognized the need to showcase my newly acquired expertise in a practical project. Seeking a platform that would allow me to demonstrate my hands-on skills and deepen my understanding of AWS, I discovered the Cloud Resume Challenge by Forrest Brazeal. This initiative offers a unique opportunity to build a personal website while applying real-world DevOps practices, serving as the perfect bridge between my past experiences and my future in cloud computing. As I embark on this challenge, I’m excited to further cement my AWS knowledge and transition fully into the dynamic field of cloud technology.
What is Astro?
First, here is a little explanation of what Astro is. It’s a modern web framework that allows developers to build fast, content-focused websites using a combination of static site generation and server-side rendering. It is designed for speed and is easy to develop. It requires HTML, CSS, and JavaScript (JS) knowledge to properly use it, unlike using a content management system (CMS). With my rudimentary understanding of those languages, I felt comfortable enough that with a quick course on Astro, I could get a simple enough website up and running. I have over 10 years of experience working with WordPress, which makes websites extremely easy because it uses What You See Is What You Get. The downside of WordPress is that it gets deceptively complex quickly, and it is much more challenging to deliver pages fast.
Astro delivers zero JS by default, but that doesn’t mean you can’t have client-side JS. Astro islands come into play when serving client-side JS without speed loss. Individual components inside of a page on Astro can be interactive islands within the page. They are hydrated with JS when you tell it to load the JS. As Astro explains, “Think of an island as an interactive widget floating in a sea of otherwise static, lightweight, server-rendered HTML.” JS slows websites down because the browsers must load and execute JS to render the webpage.
Learning Astro
I’m a fan of online learning if they also have suitable hands-on demo lessons that aren’t just code-along. Astro was initially released in August of 2022, making it relatively new. That means there aren’t many options for online courses, but with some research, I found one that would cover everything I needed. The lessons in the course had labs with a requirements framework given to the students to try and do the coding themselves first. An instructional code-along was available, but I was strongly encouraged to put my fingers on the keyboard and try on my own first.
Completing Cloud Resume Challenge
The Cloud Resume Challenge is a comprehensive project requiring skills in cloud architecture, web development, and DevOps. The challenge mandates earning an AWS certification, creating a website with HTML/CSS, implementing JavaScript functionality, developing a Python backend, integrating a database for data storage, writing tests for both frontend and backend, using source control for code management, hosting in the cloud, configuring DNS with HTTPS, and implementing Infrastructure as Code (IaC) alongside CI/CD pipelines. I began by exceeding the certification requirement, obtaining not just the AWS Cloud Practitioner but also Solutions Architect Associate and Professional certifications. For the website foundation, I implemented my first mod by using Astro instead of basic HTML/CSS, gaining both static site generation and server-side rendering capabilities.
The backend implementation centered around creating a unique visitor counter (another mod) that tracked distinct visitors rather than simple page views. I developed Python-based Lambda functions that interfaced with DynamoDB for data storage and retrieval. These functions were exposed through AWS API Gateway, creating a serverless architecture for the backend. For testing, I wrote comprehensive Python unit tests using mock AWS services to verify the backend functionality without accessing actual cloud resources. The frontend was built with React components in Astro, communicating with the backend API to display visitor counts. I implemented Playwright tests for the frontend to validate the counter’s functionality, including verifying the display and testing error states. All code was managed through GitHub repositories with proper version control practices.
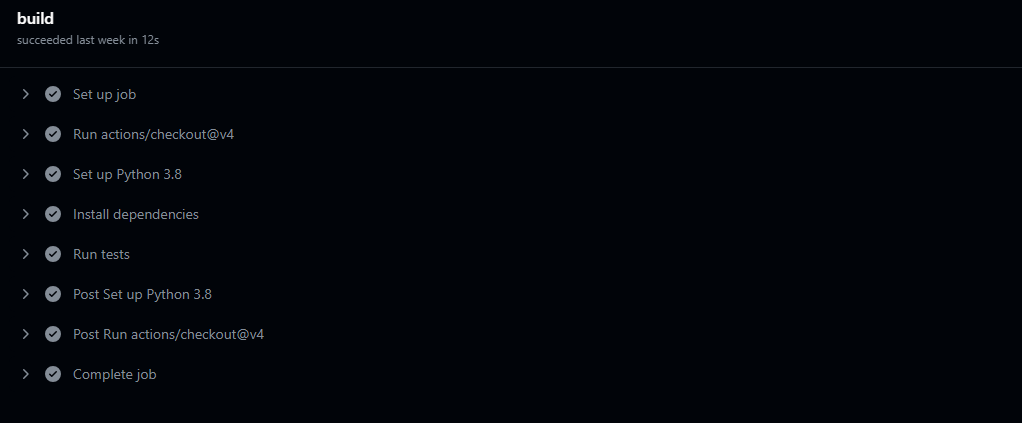
The infrastructure implementation represented the final phase of the challenge. Rather than using simple S3 static hosting, I applied another mod by containerizing my website and deploying it through ECS with EC2 for consistent 24/7 availability. The infrastructure included a VPC with multiple availability zones for high availability, application load balancers, and CloudFront distribution for content delivery. I secured everything with proper DNS configuration through Route53, implemented HTTPS with AWS Certificate Manager, and added DNSSEC as an additional security mod. For Infrastructure as Code, I used Terraform to fully automate backend infrastructure creation. Both frontend and backend were containerized and managed through separate CI/CD pipelines implemented with GitHub Actions - the frontend pipeline testing changes on staging, merging to main upon success, pushing images to ECR, and updating ECS tasks automatically, while the backend pipeline deployed containerized Lambda functions when code changes occurred. This comprehensive implementation fulfilled all challenge requirements while incorporating several mods that demonstrated advanced cloud architecture skills.
Contact Form
When I first launched my website, the original Contact Me button sent you to my LinkedIn. In my opinion, a good contact button is an essential part of any website. I’ve found too many sites use their contact button to be a quick mailto: link. A mailto: link opens a new email in your default email provider with the send address prefilled. A contact button should be a form that sends an email to a monitored inbox. Of course, I couldn’t let my contact button be a link to my LinkedIn profile.
I kept my original button; however, I completely changed the logic. When you click the button, a short form pops up asking for your name and email, and you can write a brief message. Once you hit submit, the message gets sent to my inbox. How does it work? It’s connected to AWS through API Gateway and sends your message to me through SES. A simple lambda function written in Python sits between the services to convert the JSON body into a format that SES accepts. Want to give it a try? Just hit the button and fill out the message form.
Recipes and Headless WordPress
My wife and I needed a better solution for our decade-worth of recipes than the unwieldy notes document on her phone. Since Astro integrates well with Content Management Systems, I implemented a headless WordPress setup—providing a user-friendly interface for my wife while enabling me to display the content on our website. My initial design requirements included search functionality, searchable category tags, and pagination, which I built using React components that could interpret category data from the WordPress API as search parameters.
Getting the API functional was straightforward using an existing JavaScript file with minor formatting adjustments. This implementation allowed recipes to display on our website while giving my wife the ability to gradually transfer recipes from her notes document into WordPress, creating a sustainable system for our recipe collection.
As our recipe collection grew to over 100 entries, the page began loading very slowly since it fetched all recipes before rendering any content. I implemented an interim solution that loaded the ten most recent recipes first while fetching the remainder in the background, significantly improving the initial load experience while maintaining full functionality.
The real speed fix came with Astro 5’s content collections feature. By implementing recipes as a content collection, I leveraged Astro’s static content capabilities to fetch recipes from WordPress at build time and convert them to static content. The hybrid approach now automatically fetches only recipes posted after the build date, combining server-rendered and static content for optimal speed and network efficiency. This implementation also preserves navigation state, returning users to their previous page in the pagination when using the back button after viewing a recipe—creating a seamless user experience with dramatically improved performance.
Auth0 Integration
I was ready to implement scalable API-driven authentication for my site, with basic requirements of login/logout functionality and a user profile page. Rather than building a database and handling security myself, I chose to integrate Auth0, an industry-standard authentication provider using OIDC and OAuth2. While AuthJS offered pre-built integrations, I encountered issues with the Auth0 component and decided to create my own integration files to better understand the process. I leveraged Claude 3.5 Sonnet with a basic RAG approach using scraped Auth0 documentation to guide my development process.
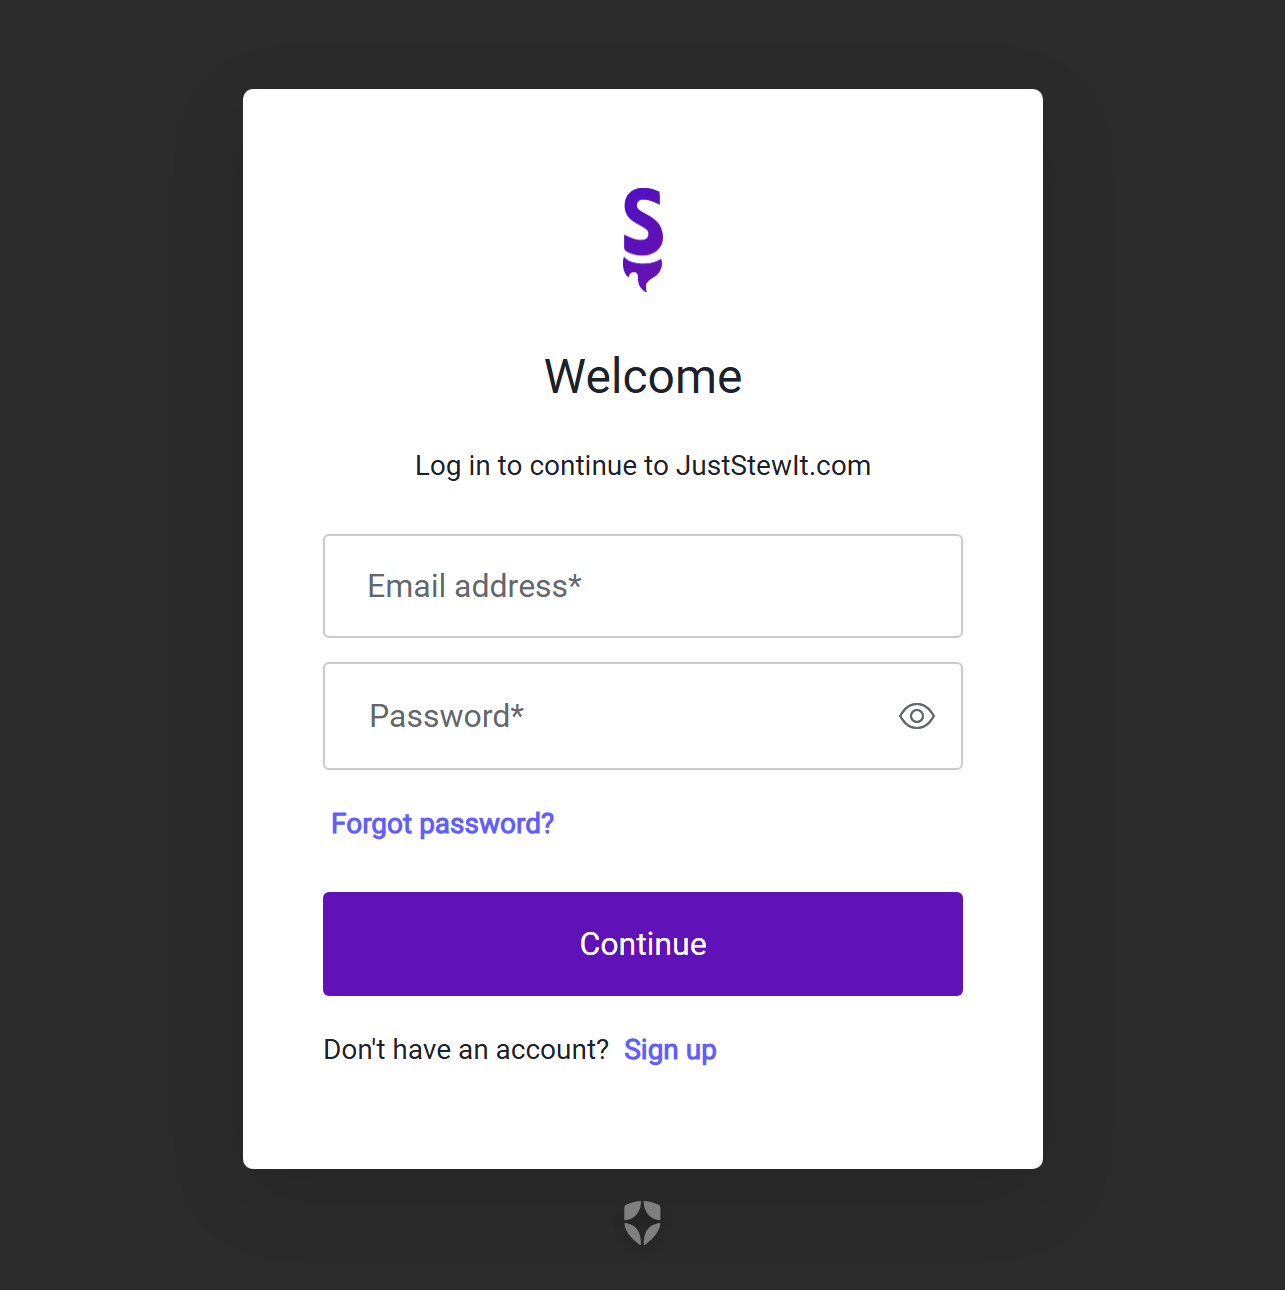
The first step was implementing basic authentication with login and logout buttons. With Claude’s help, I created a React component for these buttons and developed the necessary API file to handle Auth0 server requests. I also built the required actions, callback, and auth-handler files to manage data flow between my site and Auth0. After configuring the Auth0 dashboard, I successfully implemented the Universal Login form. To enhance user experience, I wanted to create a personalized “my-profile” page to display user information and increase interactivity.
Researching how Auth0 could serve dynamic user profiles was crucial for this implementation. I prompted Claude to create a React component that would display profile details from Auth0 on the front end. While the core functionality came together quickly, I spent considerable time on styling. Taking it further, I implemented password reset functionality and the ability for users to update basic profile information. This required setting up Auth0’s management API with appropriate permissions, creating the necessary endpoints, and building the interface for users to modify their profile pictures, names, and passwords.
My original implementation had limitations, particularly with client-loaded React components causing session management and security issues with tokens. The breakthrough came when I leveraged Claude 3.7 through Cursor to successfully implement the Astro-auth package, replacing my previous patchwork approach. This allowed me to properly integrate Auth0 with my Astro site and manage sessions effectively. The enhanced version eliminated the need for separate React components for login/logout buttons and profile elements while maintaining all the original functionality. This streamlined implementation provided better security, improved session management, and a more cohesive integration with my Astro-based website architecture.
Migrating to AWS Lightsail
If you haven’t read my prior blog posts, I host this site on AWS with ECS (amongst other services). I built a simple CI/CD pipeline through GitHub to learn about the process, which worked well enough. The issues began when I had to manually step in because the free tier of ECS limits me to a server too small to quickly deploy a new container. After updating a couple of months ago, the CI/CD process broke because I needed to stop all containers and deploy the new container. Though I wish this site paid for itself, it doesn’t, and I’m not trying to spend more money on a cloud bill. I wouldn’t upgrade the ECS service because I was already paying for Cloudfront, route53, and WAF.
Enter Lightsail, AWS’ option for easily self-hosting websites and containers. It’s a one-stop shop option, packaging several AWS services together behind a UI and making it nearly one-click easy to deploy. We almost utilized a very early version of Lightsail many years ago for Stew’s Self Service Garage’s website. The time finally came for me to use it, especially now that it has container support. This site is containerized because it’s easy, and having some docker skills has been useful moving into the tech world. If you are familiar with docker, it’s generally easy to use. However, once the container becomes more and more advanced, you end up with longer and longer commands.
With the help of a Makefile, I can efficiently push containers to ECR. After that, it’s a simple command to send an AWS CLI command to update the container service. Deploying with the AWS CLI significantly reduces my deployment time now that I don’t have to create a new task revision, stop the running task, start a new task, and then hope the service starts. Overall, I’m happy with Lightsail and get a free 3 months to boot. When I write the AWS project post, there will be more about this migration.
What’s Next?
Right now there is a lot of re-optimization happening on the site. I have been fixing numerous features on the site now that I have learned better ways of implementing them. I also have taken to enjoying Cursor and seeing what it can do for me. Right now my other focus is on writing up a lot of project posts. Over the years I have had many of them, and they all deserve a great write up! Keep your eyes peeled for my next project.
Thanks for reading about my JustStewIt.com project!


