Starting A Projects Portfolio
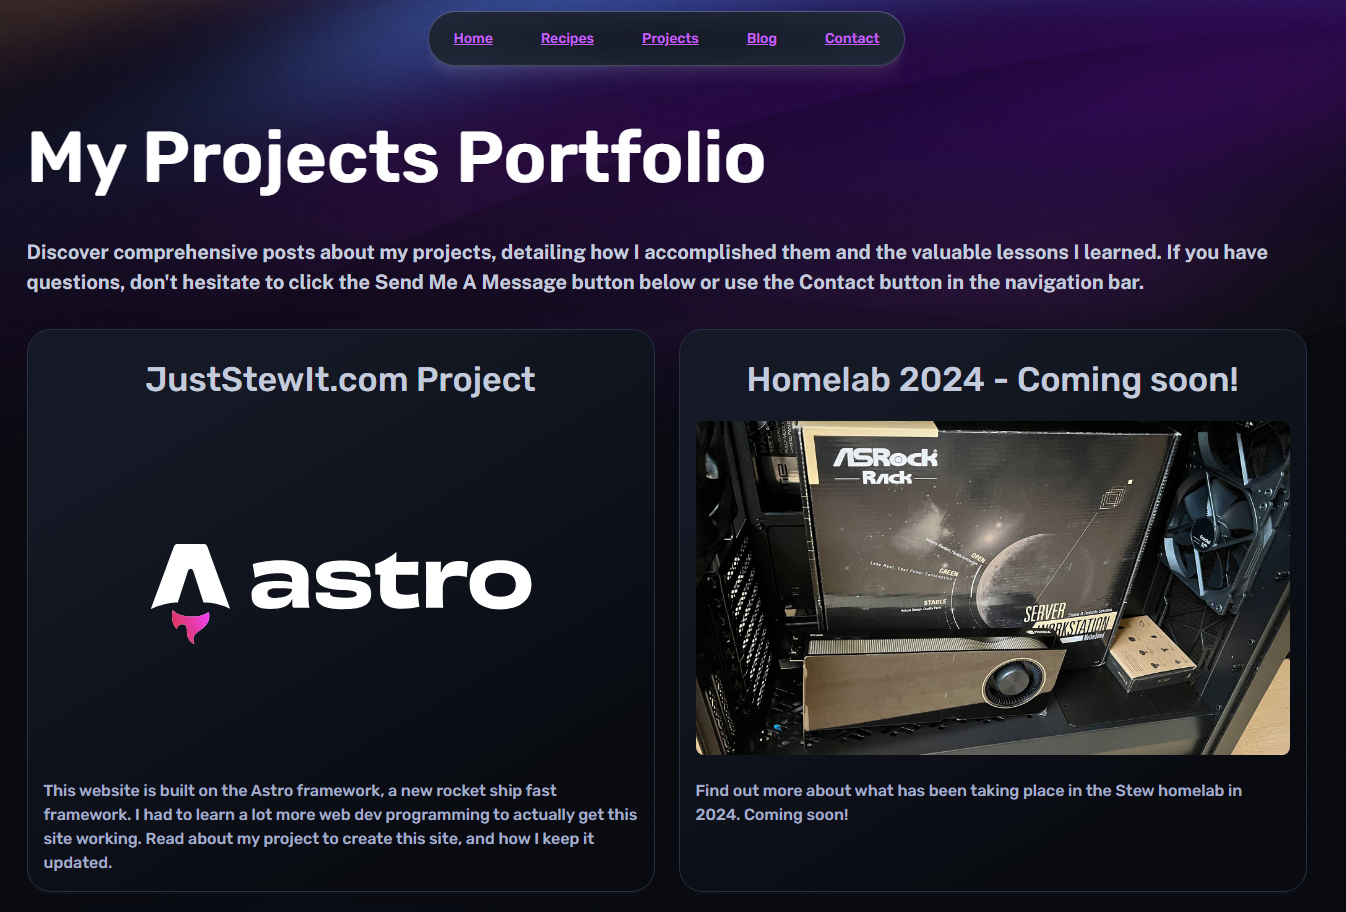
A wise friend told me recently that I do a lot of fun and interesting projects. Realizing they were correct, adding a projects portfolio on this site would be a great addition. While I usually post about my projects in a blog post, I don’t get to go too in-depth most of the time. This will serve as a way for people to read more about my projects, and I can go into much more detail on each piece. I don’t have a complete list of projects that will go on the page now. However, the first one will be creating this website and some things I’ve built.
One thing that will be featured soon is that I have migrated the site from AWS’ ECS service to Lightsail. Being containerized, switching to any different service is very easy as long as it can host containers. Fortunately, AWS Lightsail makes hosting sites with a container easy and fast. I had begun to have many issues with ECS, and I wanted to simplify and reduce my hosting costs. Lightsail was the perfect solution to the problem, and I went from spending $25-30/month with AWS to $12.
There’s more to this story; you can read more about it on my brand new Projects page! I go into detail about building the site, the initial AWS architecture, the current architecture, and my Lightsail migration.
Every Nerd Wants To Cosplay As A SysAdmin

That’s right, I said what I said. We all want our home server rack with enterprise networking infrastructure, compute clusters, and plenty of hot-swappable storage. I get to do some of this for work; setting up networking, computing resources, etc. Maintaining it to an extent and ensuring the network has the security it needs are also tasks I get to do regularly. And because I don’t scratch the SysAdmin itch enough with work, I decided I needed a server rack for home.
I explored doing a rack mount build when I built my AI server. The idea was that I would have a server rack in the future anyway, so I could make it in a server chassis with server components. The only issue was that I would need a server rack, which would involve completely rerouting the cabling for not just 1 ISP but 2 of them. Ziply Fiber and Comcast serve my house, so I have both because it is the most practical option. With my Unifi networking equipment, I have Ziply as my primary and Comcast as the automatic failover. Yes, you read that correctly. My house has ISP redundancy; put another point in the king of the nerds column.
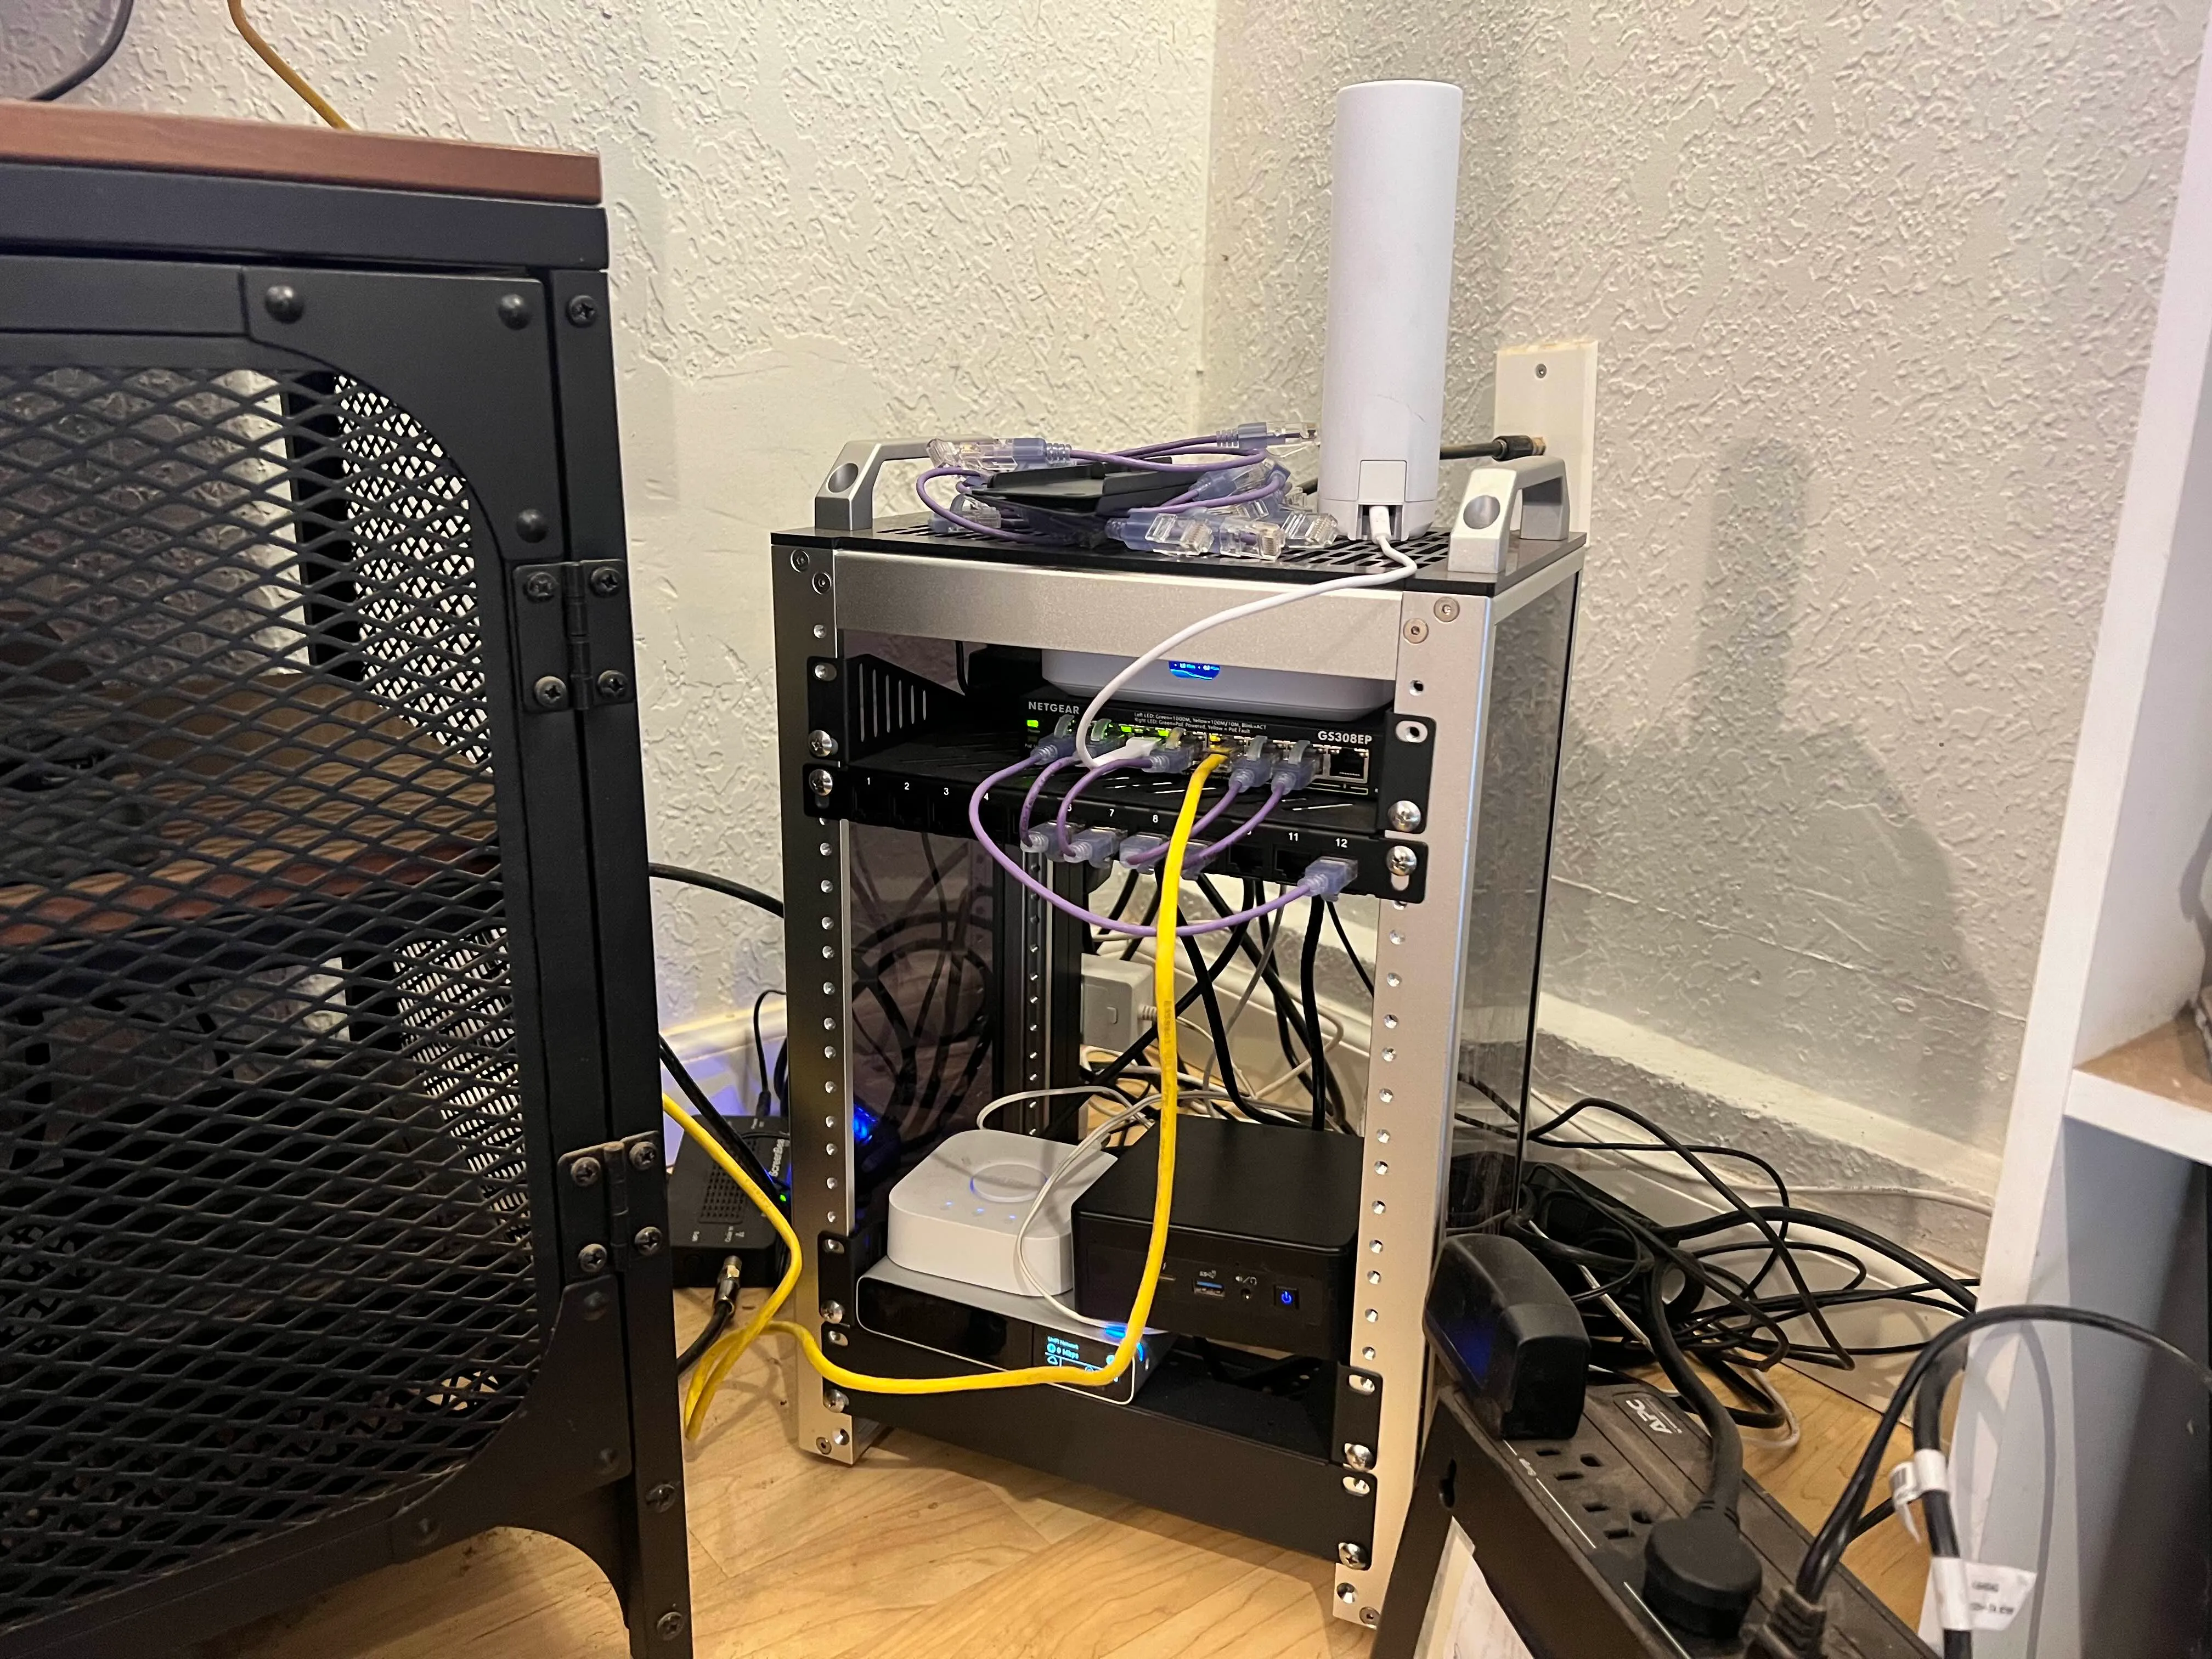
A full-size server rack wasn’t quite in the plans, but what about a mini rack? A relatively new small form factor (SFF) rack has come out, which is 10” wide, unlike the full-width 19” server rack. This little rack is small enough to go right where my ISPs enter the house. I started out with my Unifi Ultra Cloud Gateway, a Netgear switch, my main NUC node. our IOT hub devices for things like Sonos and other HomeAssistant stuff also got put in the rack. All that’s left is to 3D print some parts for the rack to make cable management more straightforward and clean up the look of it.
3D Printer!

Over the years, I’ve considered buying a 3D printer many times. However, they were not quite consumer-friendly enough. Semi-jokingly, I am a 5-year-old kid, always looking for a new addition to the toy box. My mini rack purchase spurred my desire to buy a 3D printer to print many custom components for it. This would be a good way for me to get some essential experience with it while having fun. I settled on a Creality K2 Plus with their CFS multi-spool option.
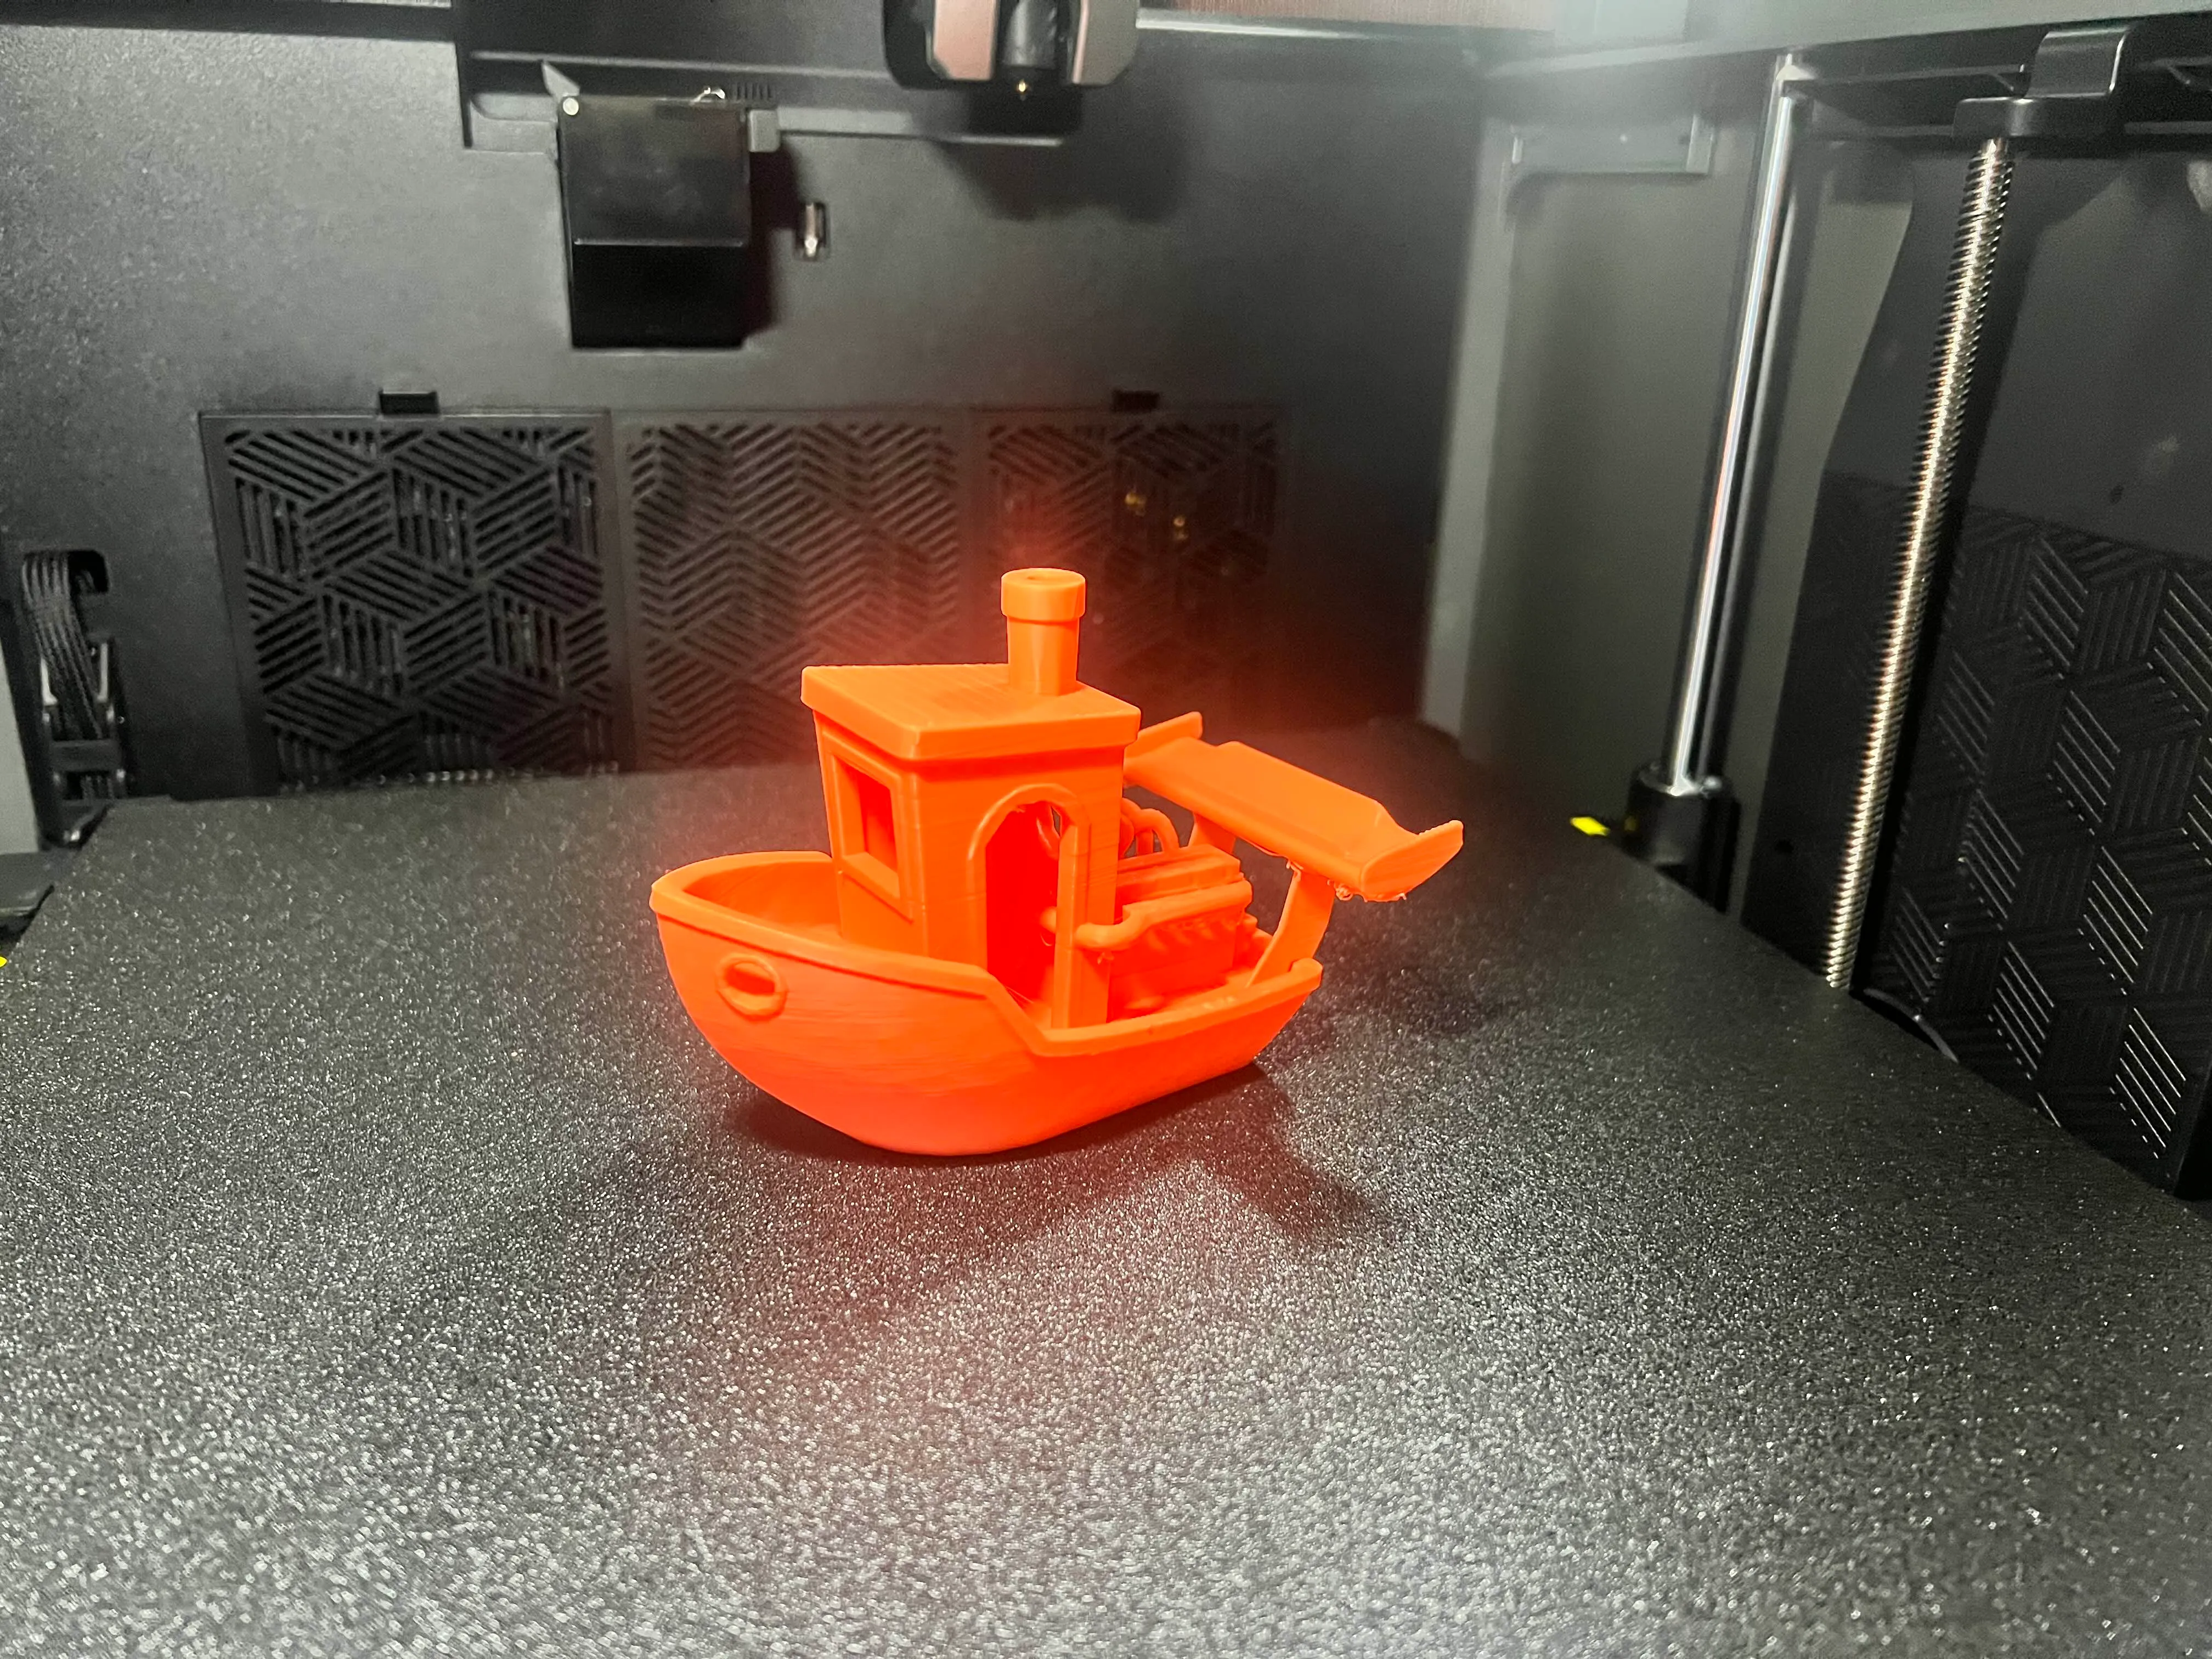
Even though my mechanical abilities are at an expert level, I don’t always like assembling stuff. The K2 Plus showed up about 98% assembled, thankfully for me. After some quick assembly, I could fire it up and go through the initial setup. I gave it 6.5 hours worth of print jobs to break it in. A couple little 3D printed “benchys” (the benchmark object to compare printers), an upgrade part for the printer, and a phone stand were all part of my initial break-in.
What’s next for the 3D printer? I need to print all the parts for the new mini server rack. There aren’t many accessories out there, and the ones there are can be expensive. I may throw inexpensive plastic at it to make custom parts. With the basic CAD skills I learned while building tool foam organizers at Stew’s Self Service Garage, it’s easy to design my parts. Please keep your eyes peeled on the blog, as I will undoubtedly update you on how the printing is going.
Patch Notes for JustStewIt.com v2.9.4
- Upgraded to Astro 5.2
- Added Projects page to website
- Migrated to AWS Lightsail
- Added Makefile
- Added version control
- Plenty of new recipes are available on /recipes pages, and are constantly updated between versions
